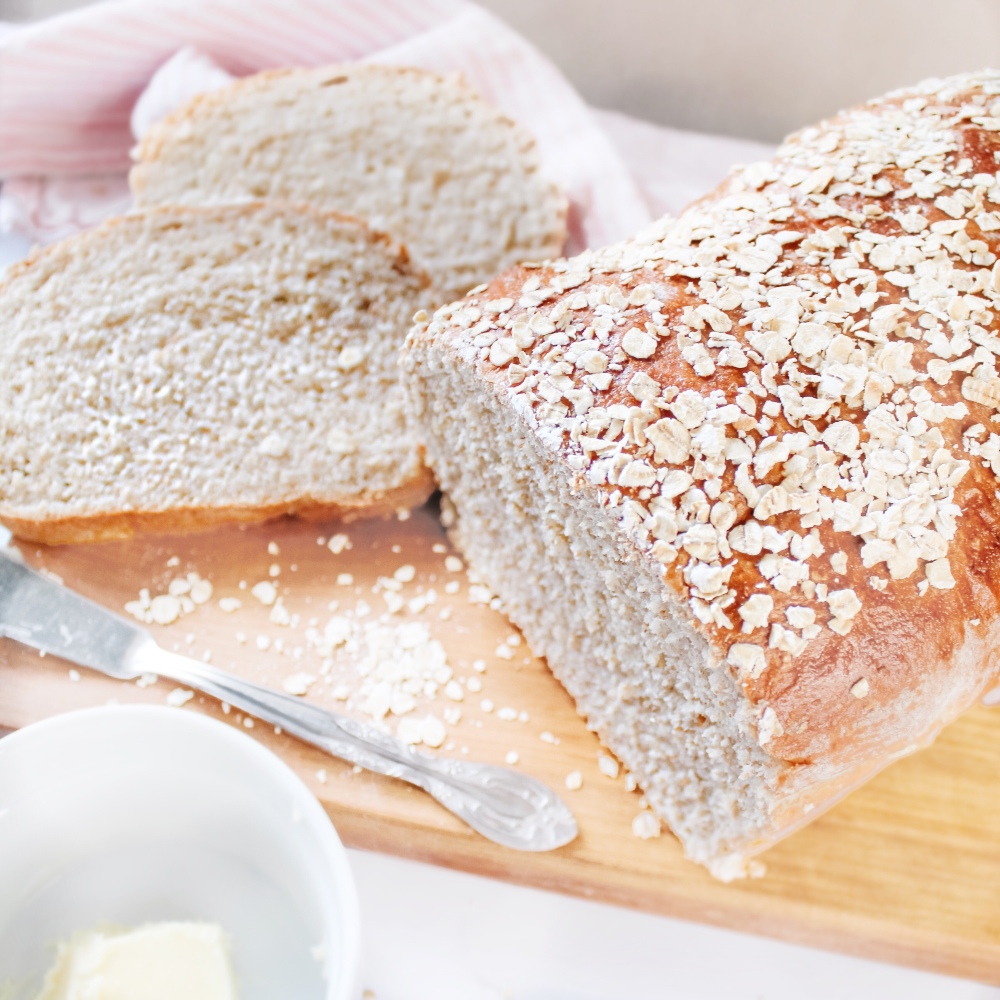
Is there anything better than carbs fresh bread?
Since quarantine started, I’ve been channeling my inner Barefoot Contessa and putting my KitchenAid stand mixer to good use. Since flour and yeast were flying off the shelves like the new hot toy on Christmas Eve, I decided to jump on the quarantine bread-making bandwagon.
Never having made bread before, because I felt it was quite intimidating, and who just has yeast laying around? I started with a basic white bun recipe from Jillian Harris and Tori Wesser’s cookbook, Fraiche Food, Full Hearts, which I highly recommend, just to get my feet wet in the carb-loading game.
After experimenting with dozens of different recipes and concoctions (I’ve made a LOT of bread y’all), I finally came up with the perfect loaf. With a healthy balance of hearty and sweet, this bread has gotten rave reviews from my family and friends (hashtag, humble brag).
Assuming you can find flour and yeast right now, which have become pretty hot commodities, I’d love for you to give this recipe a try because it really is so easy! Allow yourself about 2 1/2-3 hours to make your bread. Don’t make the mistake that I did once and start baking at 8 p.m. because between letting the loaves rise and bake and cool, and then obviously buttering up the first slice for yourself, will have you staying up till the crack of dawn (still totally worth it).
Recipe yields one loaf (feel free to double the recipe a few times if you’re making extra for family and friends)
Ingredients
- 1 package of dry active yeast OR 2 teaspoons of instant yeast
- 1 cup + 1/4 cup warm water (divided)
- 1/4 cup + 1 tsp honey (divided)
- 1 tbsp melted butter
- 1 tsp salt
- 3 1/2 cups Miller’s Pride whole wheat organic flour
- 1/4 cup rolled oats + extra for garnish
- One egg, beaten
Instructions
Activate the yeast by adding it to a 1/4 cup of lukewarm water with 1/2 tsp of honey in a small bowl and set aside (this is called “proofing” the yeast apparently). It should only take a few minutes for it to start getting bubbly. Basically, just look for little air pockets to form in the foam-like substance on top of the water – this is how you know your yeast is alive and well.
While your yeast is proofing, add all the remaining ingredients to the bowl of a stand mixer with a dough hook attachment. (You can also mix by hand I suppose if you feel like skipping arm day at the gym).
Add your bubbly yeast to the rest of the ingredients and start mixing at a low speed. Once all ingredients are combined (scrape sides of the bowl if necessary to make sure all the flour is incorporated), then knead your dough for 5 minutes either by hand on a lightly flour-covered surface or with your dough hook attachment. My advice would be to knead it by hand for a little bit because it is way more fun!
Remove your dough and knead by folding the edges into each other until you start to form an adorable little dough ball.
Spray a medium-sized bowl with cooking spray and place your dough ball in the bowl and cover with a linen cloth and place in a warm area (If your oven doesn’t have a proofing setting, you can set the bowl on your stovetop while your oven is preheating). Let your dough rise for about 1 hour, or until it’s double in size.
Preheat your oven to 350 degrees.
Once your dough has risen, deflate it by punching it down and flipping it out of the bowl and onto a lightly floured surface. Roll it out into a rectangle and begin shaping the dough into a loaf by rolling it out and tucking in the ends. Once you’ve created the perfect shaped loaf, place in a greased bread pan.
Beat one egg and generously brush the top of your loaf with the egg wash and sprinkle with additional oats to make it pretty.
Cover with a linen cloth once more and let it rise for an additional 30 minutes on top of your stovetop.
Bake at 375 degrees for 25 – 30 minutes and let it cool for 15 minutes before slicing (which will be the toughest part of the entire process – that fresh bread smell is all-consuming!)

Optional:
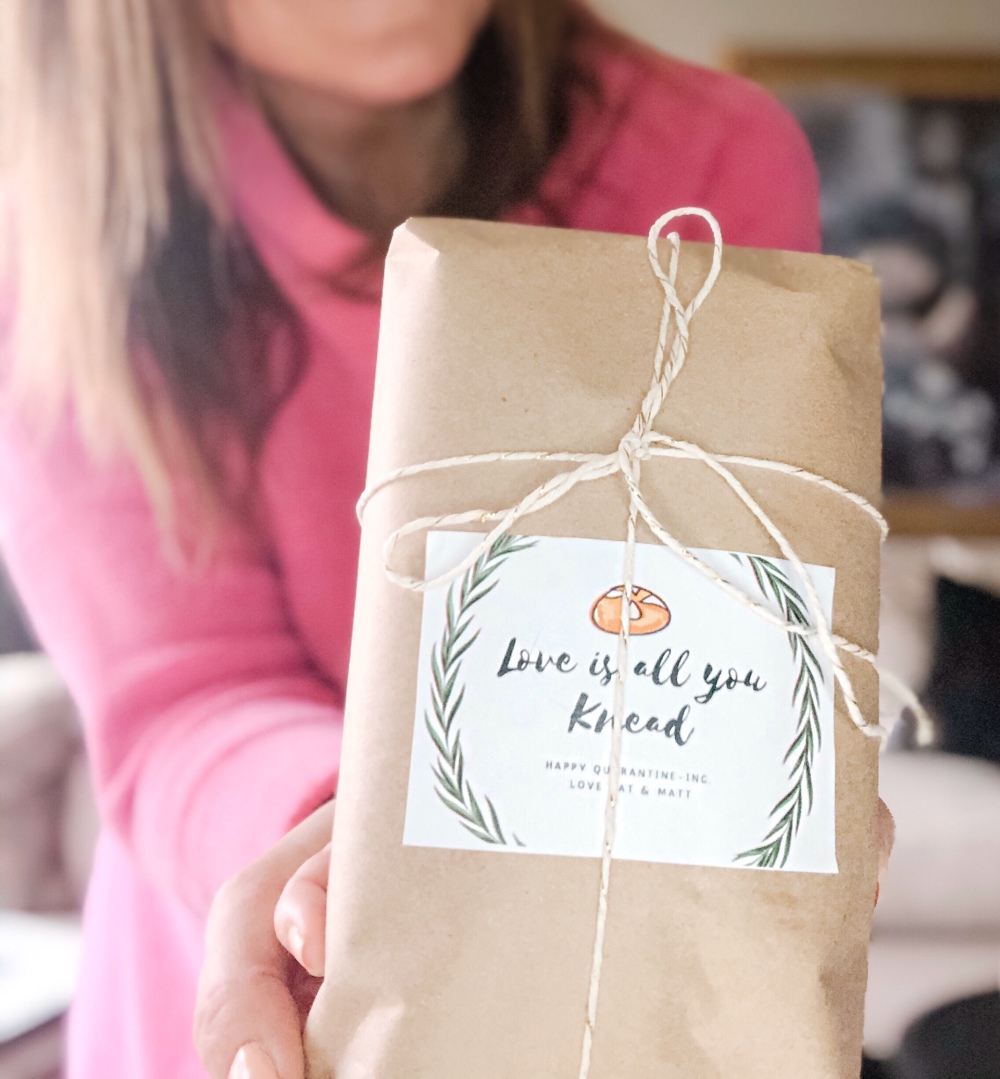
If you’re making multiple loaves to give away as gifts for major brownie points (which I highly suggest, especially those older, more well-off relatives, if you know what I’m saying) let the loaves cool completely, in the fridge, overnight is best and wrap the loaves tightly in plastic wrap. Pick your favourite wrapping paper (I used brown craft paper, but any thick wrapping paper will do) and wrap them up and tie with string or ribbon to create an adorable little package. If you want to look super extra, you can even add a custom label. I’ve created one that you can DOWNLOAD HERE. Simply print the label, cut, and tape to the front of your package, and voila, you’ve earned your Martha Stewart badge.
Congrats, you’re officially a bread-maker!
Xo

Follow me! Instagram @shesallnat1 Twitter @shesallnat